Acadd Centre
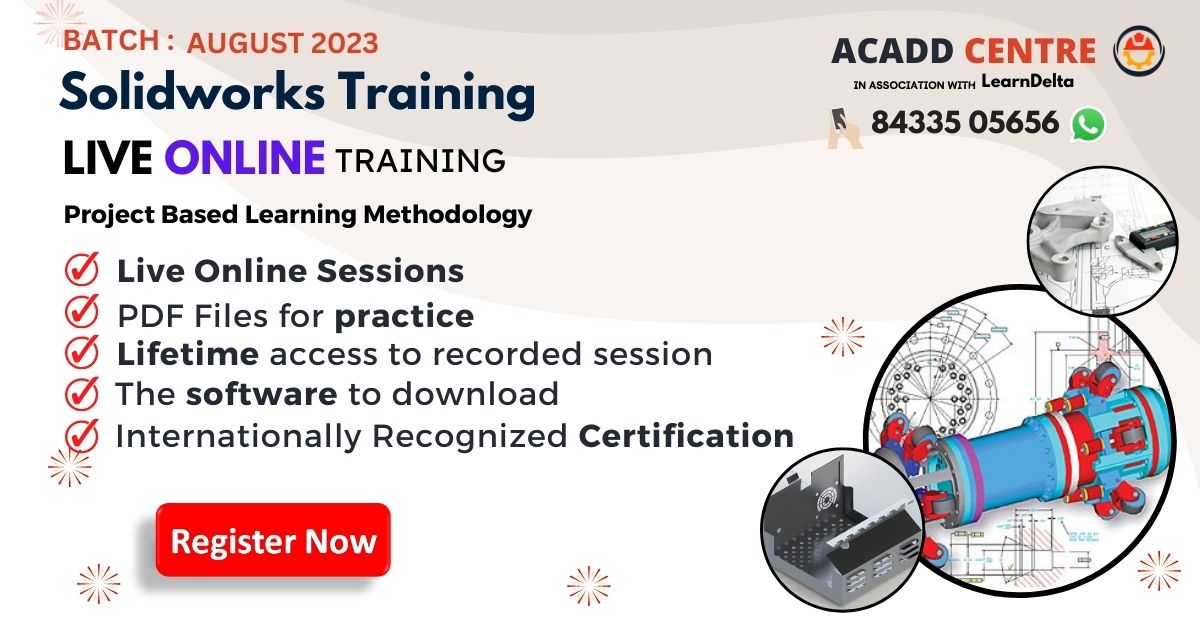
Live SolidWorks Class
ACADD CENTRE is an ISO Certified, GOVERNMENT OF INDIA, MSME Registred CAD Training Centre in Mumbai.
ARE YOU READY ?
This course is designed for easy learning of Solidworks software for Mechanical and Automation Engineering students/professionals .
How is our SOLIDWORKS Course is different from others?
Most of the SolidWorks Courses cover only theoretical or with basic models, But at our ACADD CENTRE, SOLIDWORKS Course covers-up DRAWINGS SKETCHES, PART MODELLING, ADVANCED PART MODELLING, ASSEMBLY MODELLIN, SURFACE MODELLING, SHEET METAL, DRAWING VIEWS in-depth with more than 30+ hours of Live Lectures. All these modules are 100% practical to become a Professional 3D Designer. After the course completion from us which is valid internationally.
70% OFF ON SOLIDWORKS COURSE

UNLIKE OTHER INSTITUTES, WE DO NOT CHARGE YOU RS. 10K-20K.
ACTUAL PRICE RS. 5000
DISCOUNTED PRICE:
RS. 1499 onlySOLIDWORKS Essentials Lessons
The following lessons are included in the course
Lecture: 01
USER INTERFACE: Understanding the Course Outline of SOLIDWORKS, Downloading & Installing the Software. About SOLIDWORKS, History, Uses.
Launching SOLIDWORKS, Understanding the User interface of Solidworks, Creating a New file, Saving, Closing, Open Existing files, and Exiting SOLIDWORKS. Customizing Command Managers and Toolbars in SOLIDWORKS.
Lecture: 02
DRAWING SKETCHES Entering the Sketching Environment, Creating Lines, Centerline, and Midpoint Line, Circles, Arcs, Rectangles, Polygons, Splines, Slots, Ellipses, Elliptical Arcs, Parabolic and Conic Curves, Placing Points, and Deleting Sketching Entities.
Lecture: 03
MODIFYING SKETCHES Creating offset geometry.Moving, copying, rotating, scaling, erasing, undoing, and redoing actions Using the Mirror tools, Trimming and extending a sketch. Creating repeating patterns in a sketch Using construction lines, Adding fillets and chamfers to sketches.Writing Text.
Lecture: 04 – Practice Example
Lecture: 05 – Practice Example
Lecture: 06
RELATIONS & DIMENSIONS Adding Automatic Relations, Dimensioning a Sketch and Smart Dimension Tool, Adding Horizontal and Vertical Dimensions, Aligned Dimensions, Angular Dimensions, Adding Diametric Dimensions, Adding Radial Dimensions, Adding Linear Diametric Dimensions, Adding Ordinate Dimensions. Fully Defining the Sketches, Deleting over-defined dimensions, and Displaying & deleting relations.
Lecture: 07
PART MODELLING ( BASE FEATURES) Creating Extruded Features, Revolved Features, Extruded Cuts, Revolved Cuts, Determining the Mass Properties of Solid Models. Dynamically Rotating the View of a Model. Shadows in shaded mode, Assigning materials and textures to the models.
Lecture: 08 – Practice Example
Lecture: 09
ADVANCED PART MODELLING Creating holes, fillets, chambers, shells, and wraps, Creating mirrors, and rib features, and Displaying the section view of the model.
Lecture: 10 – Practice Example
Lecture: 11 – Practice Example
Lecture: 12 – Practice Example
Lecture: 13
EDITING FEATURES Editing sketches, Editing using the instant 3d tool, editing features, Copying features using drag &drop, and deleting features.Suppressing & renaming features, Creating folders in the feature manages tree.
Lecture: 14
CREATING REFERENCE GEOMETRY Need for creating Planes, Creating Offset Planes, and Parallel Planes passing through a Point, Creating planes at an angle to an existing plane, Creating a plane normal to a curve and in the middle of two faces, and Creating a plane on a non-planar surface. Creating Reference Axes. Creating Reference Points, Creating Reference Coordinate Systems, and Creating a Center of Mass.
Lecture: 15
ASSEMBLY MODELING Creating bottom-up assemblies, Creating top-down assemblies, Moving and rotating individual components, Applying assembly mates, and editing assembly mates.
Lecture: 16 – Practice Example
Lecture: 17 – Practice Example
Lecture: 18
DRAWING VIEWS Generating standard drawing views, Generating derived views, Editing & modifying drawing views, Changings the view orientation scale, Deleting drawing views, Rotating drawing views., Modifying the hatch pattern in section views.
Lecture: 19
ADVANCED DRAWING VIEWS Adding annotations to the drawing views, Editing annotations, Adding the bill of materials (BOM) to the drawing, Adding balloons to the drawing views, and Adding new sheets to the drawing views.
Lecture: 20
WORKING WITH BLOCKS Blocks toolbar, Saving a sketch as a block, Creating mechanisms using blocks, Applying motion to blocks, and Creating parts from blocks.
Lecture: 21 – Practice Example
Lecture: 22 – Practice Example
Lecture: 23
SURFACE MODELING Creating an extruded, revolved, swept surface, Creating lotted, bound, planer surface, Creating fill surface, radiated surfaceOffsetting, trimming, untrimmed. Extending, knitting, and filleting surfaces.Creating a mid-surface, replacing faces, and deleting faces.Moving, copying, and mirroring surfaces. Adding thickness to surface bodies, Creating a thickness surface cut.
Lecture: 24 – Practice Example
Lecture: 25 – Practice Example
Lecture: 26 – Practice Example
Lecture: 27
SHEET METAL Creating the base flange Edge flange, table sketched bend, miter flange Creating closed corners, hems, jog bends, breaking the corners Creating cuts on planar faces., Creating lofted bends.
Lecture: 28 – Practice Example
Lecture: 29 – Practice Example
Lecture: 30 – Practice Example, Exam & Certification
BECOME ELIGIBLE FOR
Design Engineer, SolidWorks Design Engineer, Project Engineer, Sheet Metal Designer, Draftsman – SolidWorks CAD, Application manager etc.
SAMPLE CERTIFICATE

The more you’ll wait, others will replace you in the industry
DON'T WASTE TIME GET IT NOW HURRY!
Every Opportunity Knocks Your Door Only Once Don’t Miss This Opportunity


